
Made By People
Portal Help Guide :: Main Menu
Welcome to the MBP Portal Help Guide! Please choose the section you need help with above. If this is your first time setting up your account, we recommend starting with the Sign Up section.This guide is currently a work-in-progress and we will be adding more help sections soon!For now, you can follow the sections for signing up and setting up your Store Owner and Store details.
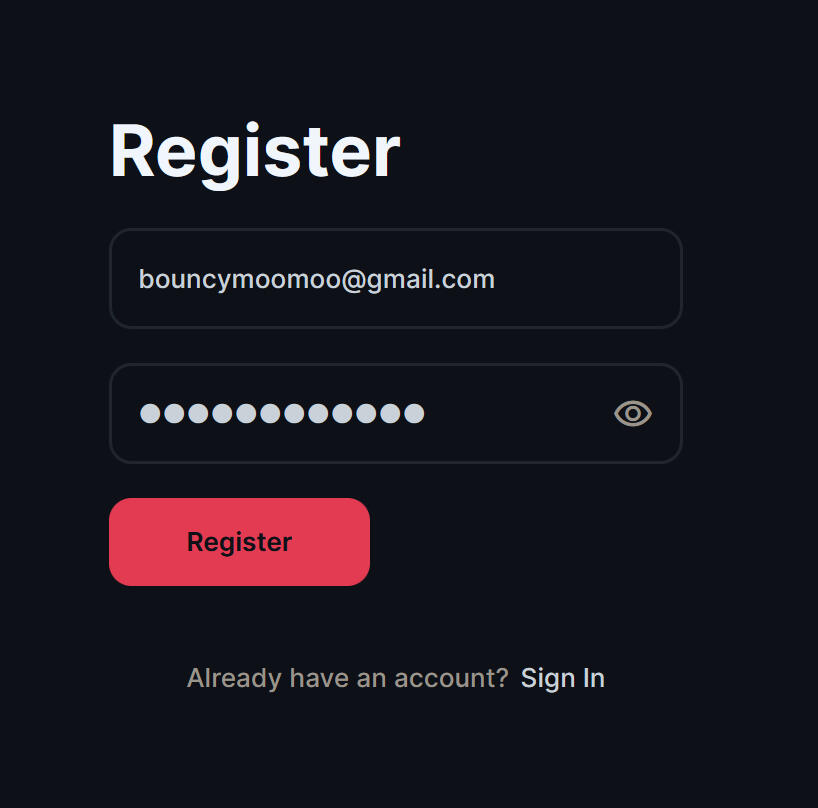
Step 1Enter your email address and choose a password you can remember, then click the "Register" button.(Note: Your email address will not be exposed on the website and only you will be able to see it.)
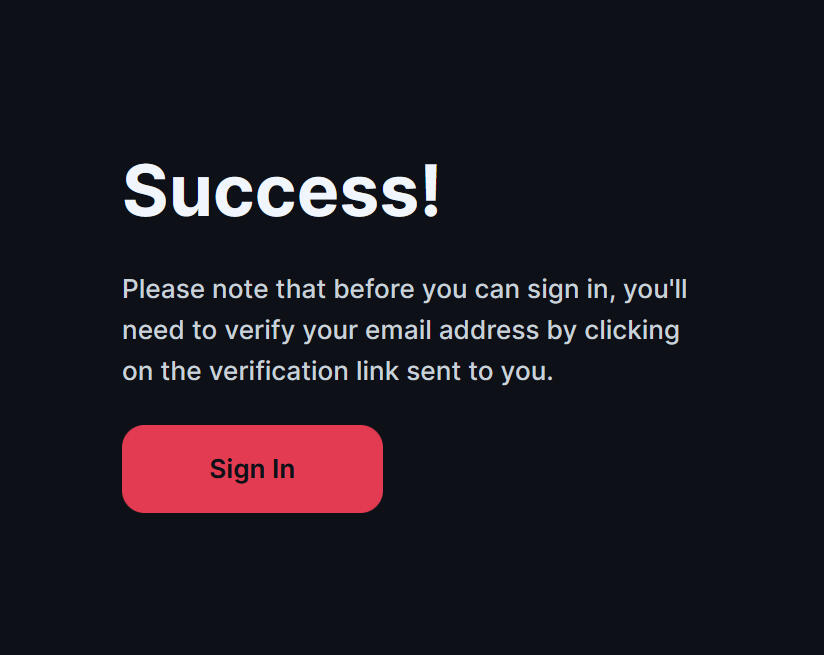
Step 2Once signed up, you will receive a verification email.
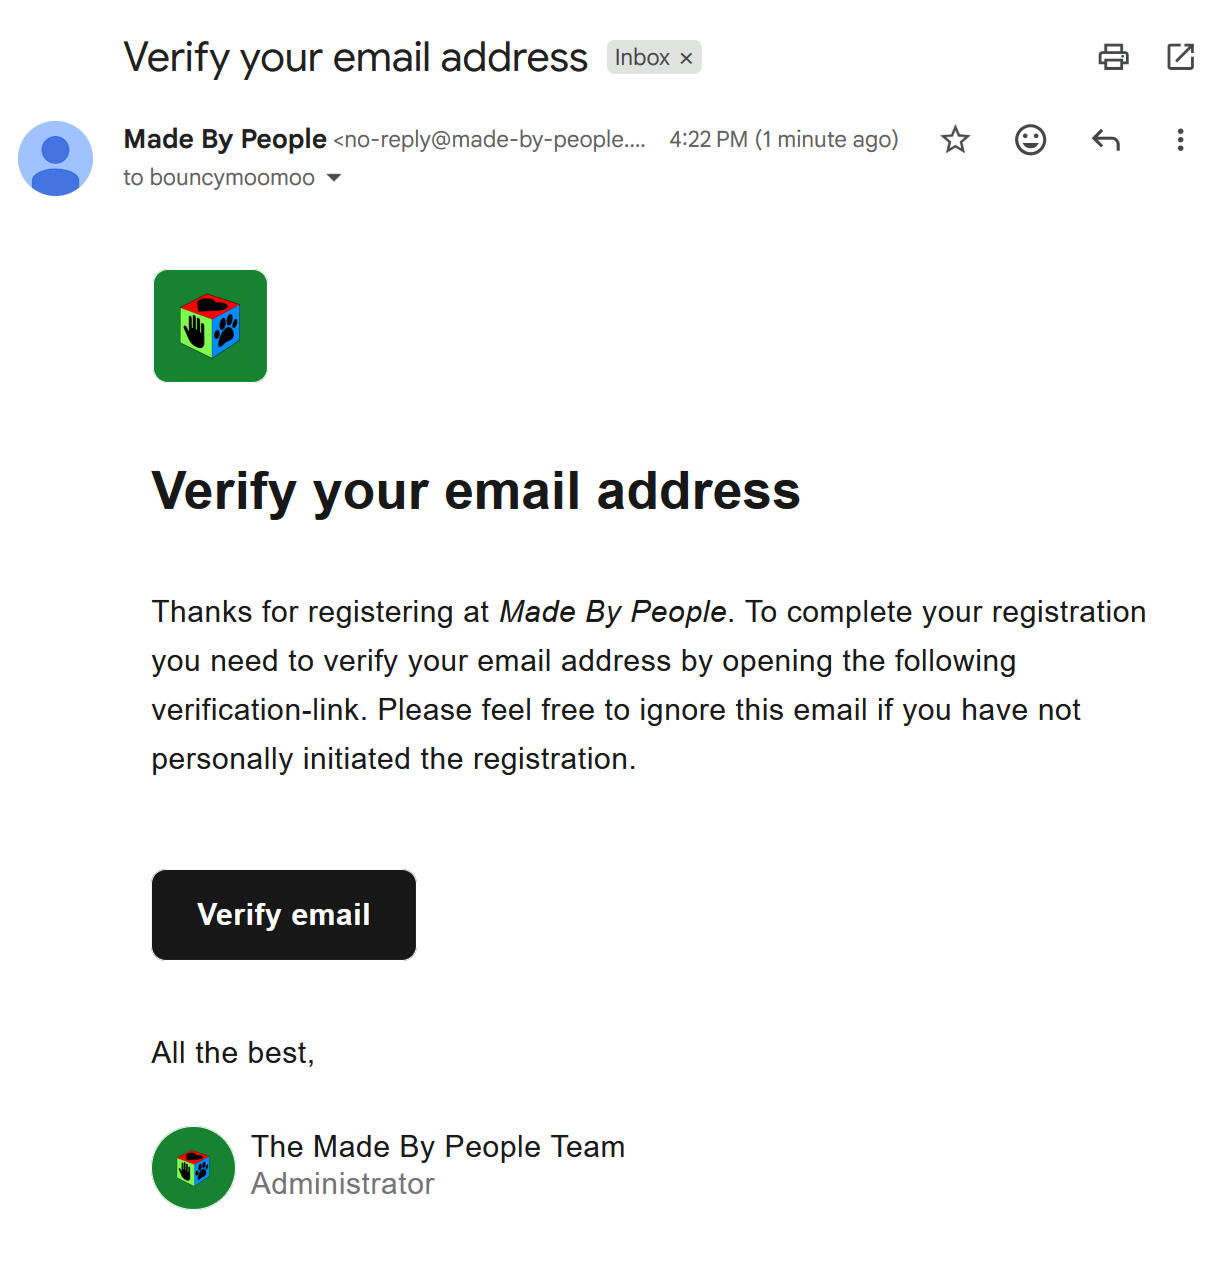
Step 3Locate your verification email and click the Verify email button to proceed.(Note: The email may be sent to your spam folder instead of your inbox.)
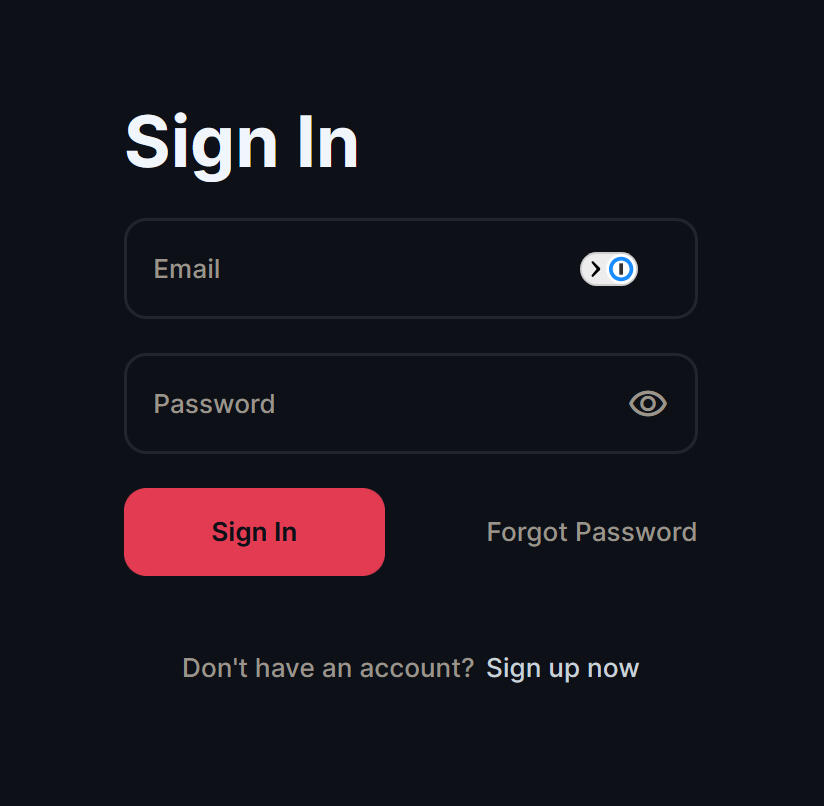
Step 4Once your email is verified, log in to the portal.
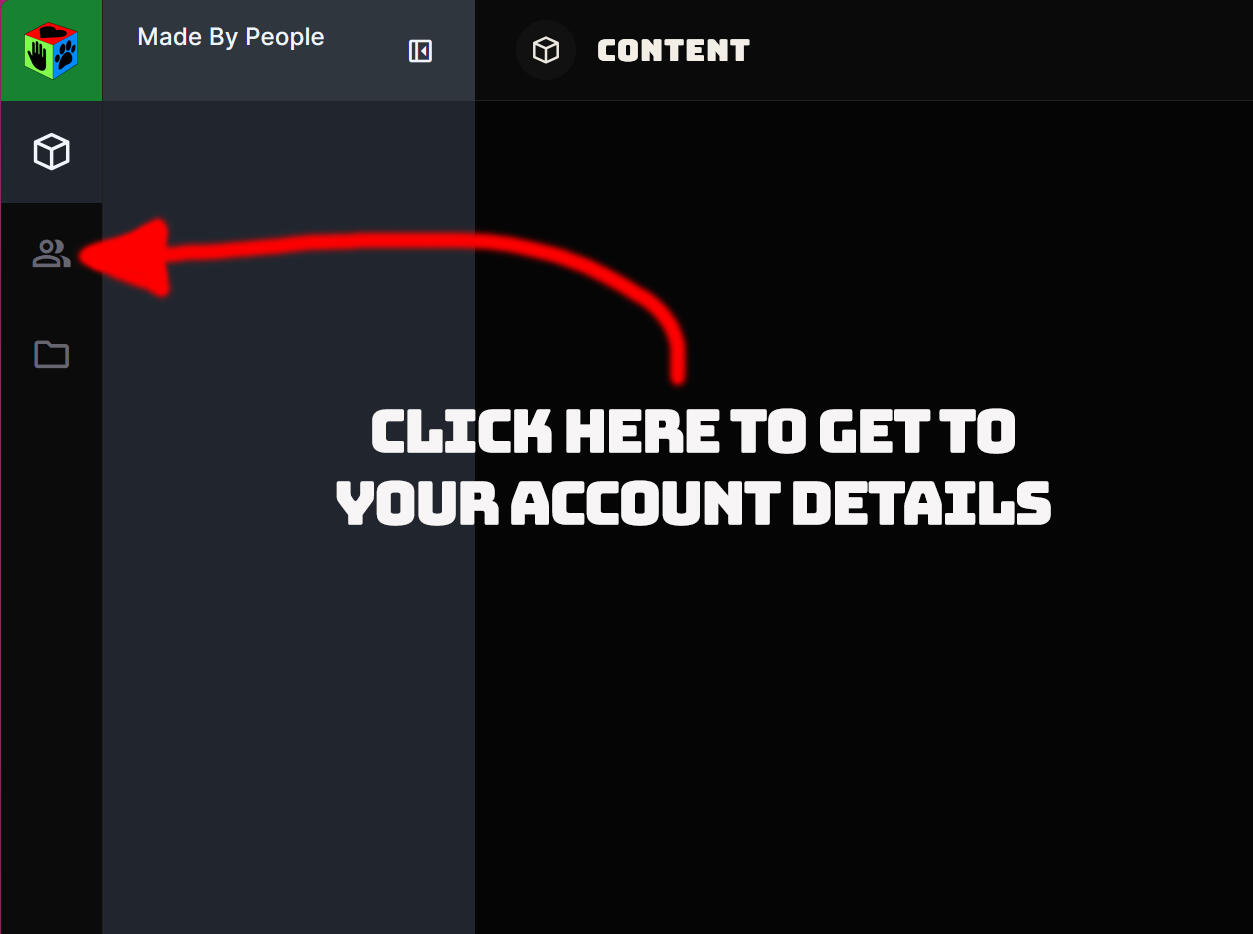
Step 5After logging in, you will see an interface similar to the one shown in the image. Click on the People icon on the left.
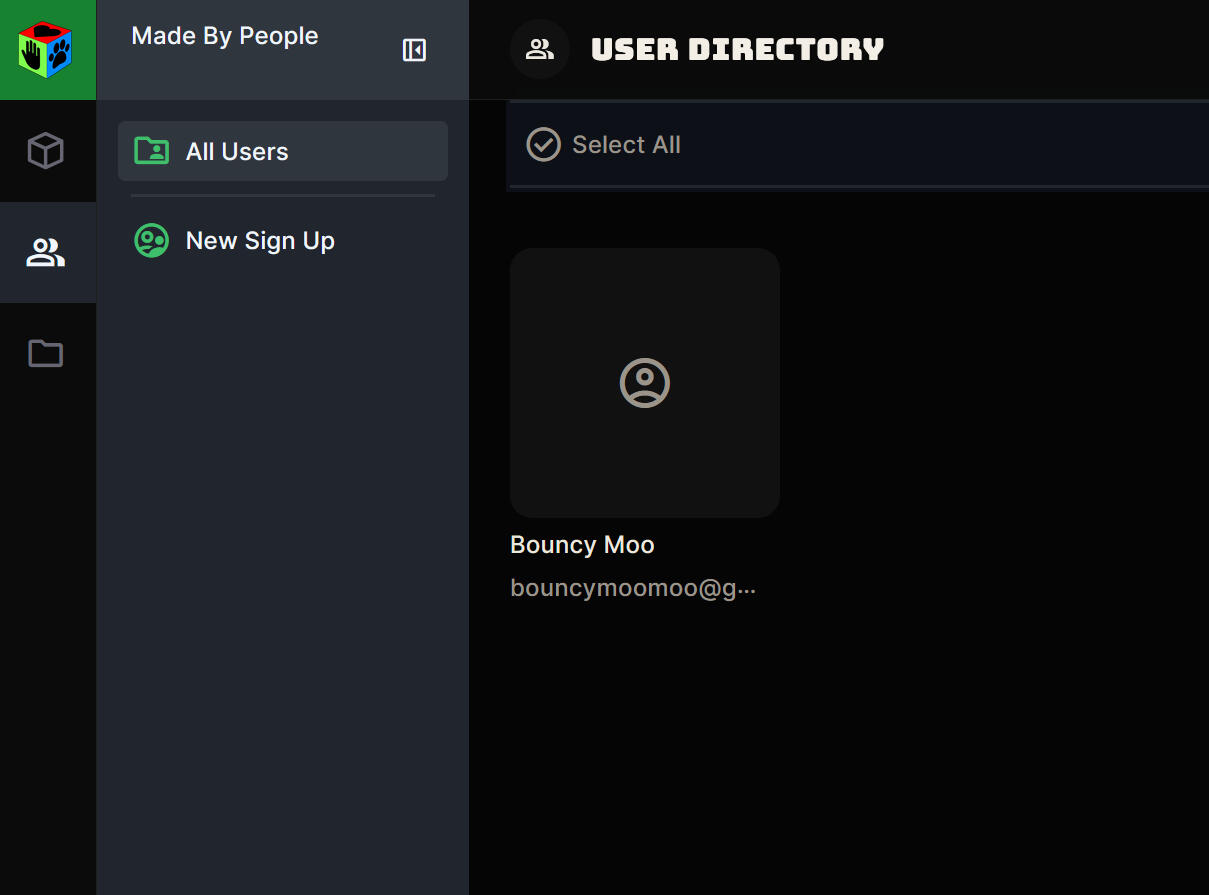
Step 6You will see your MBP Portal account here. Your email address and account name will always be kept private and only you can see this. Next, click on your account card to open your MBP Portal account details.
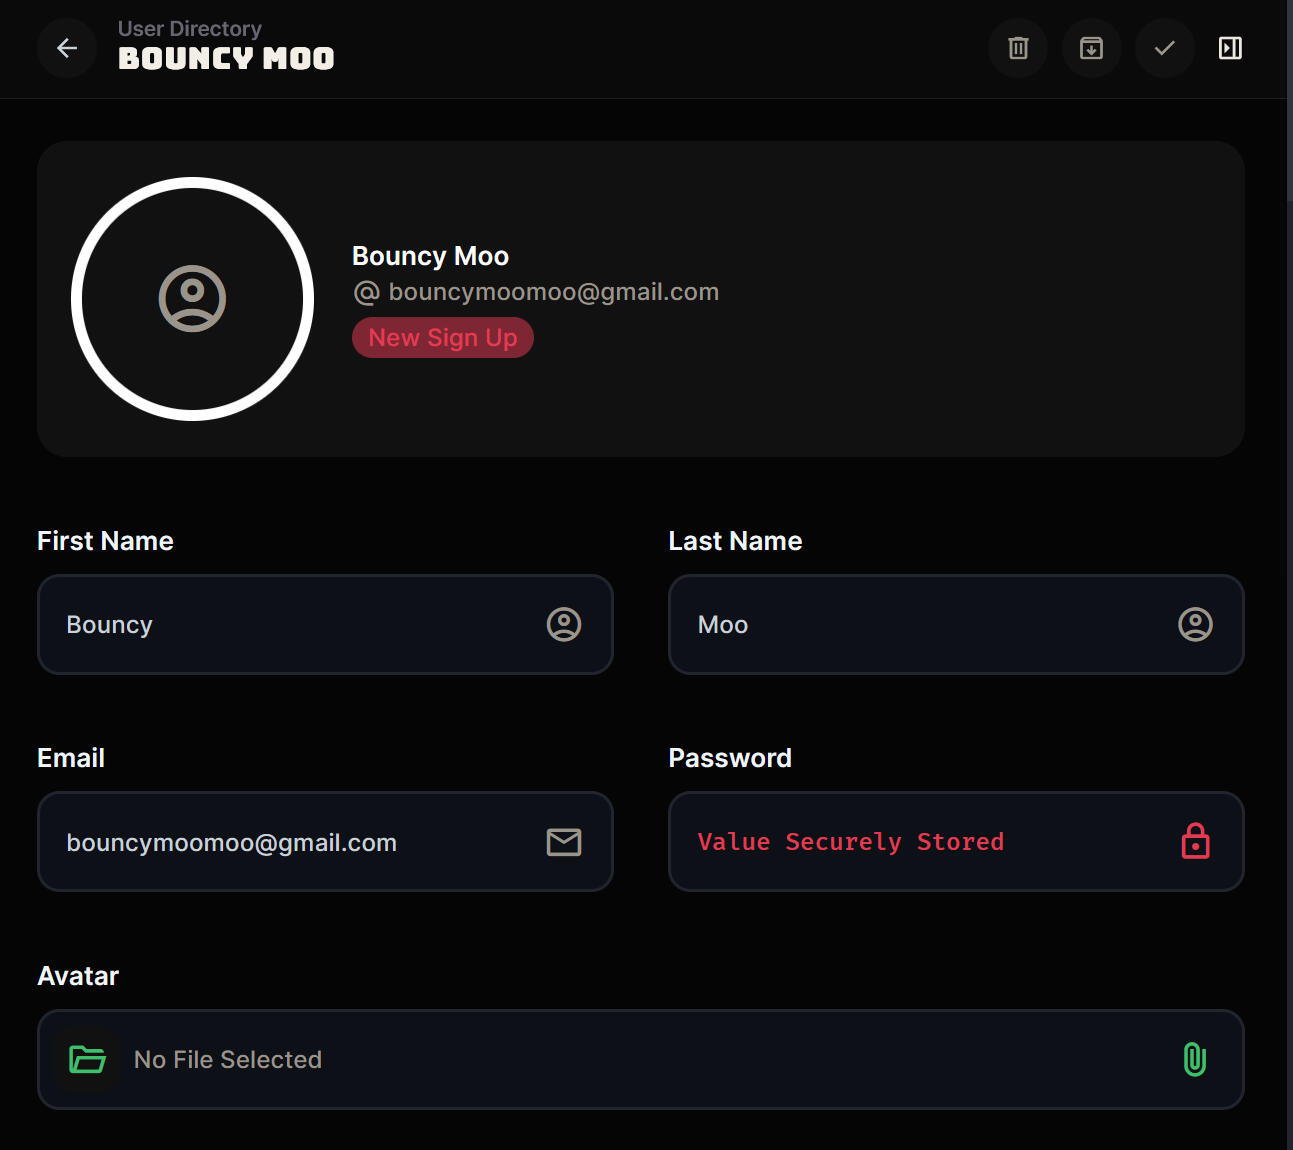
Step 7Make sure your MBP Portal account details are correct. Enter your Second Life account name, display name, or alias here in the First Name and Last Name fields.Set your profile image by editing the Avatar field to upload an image.
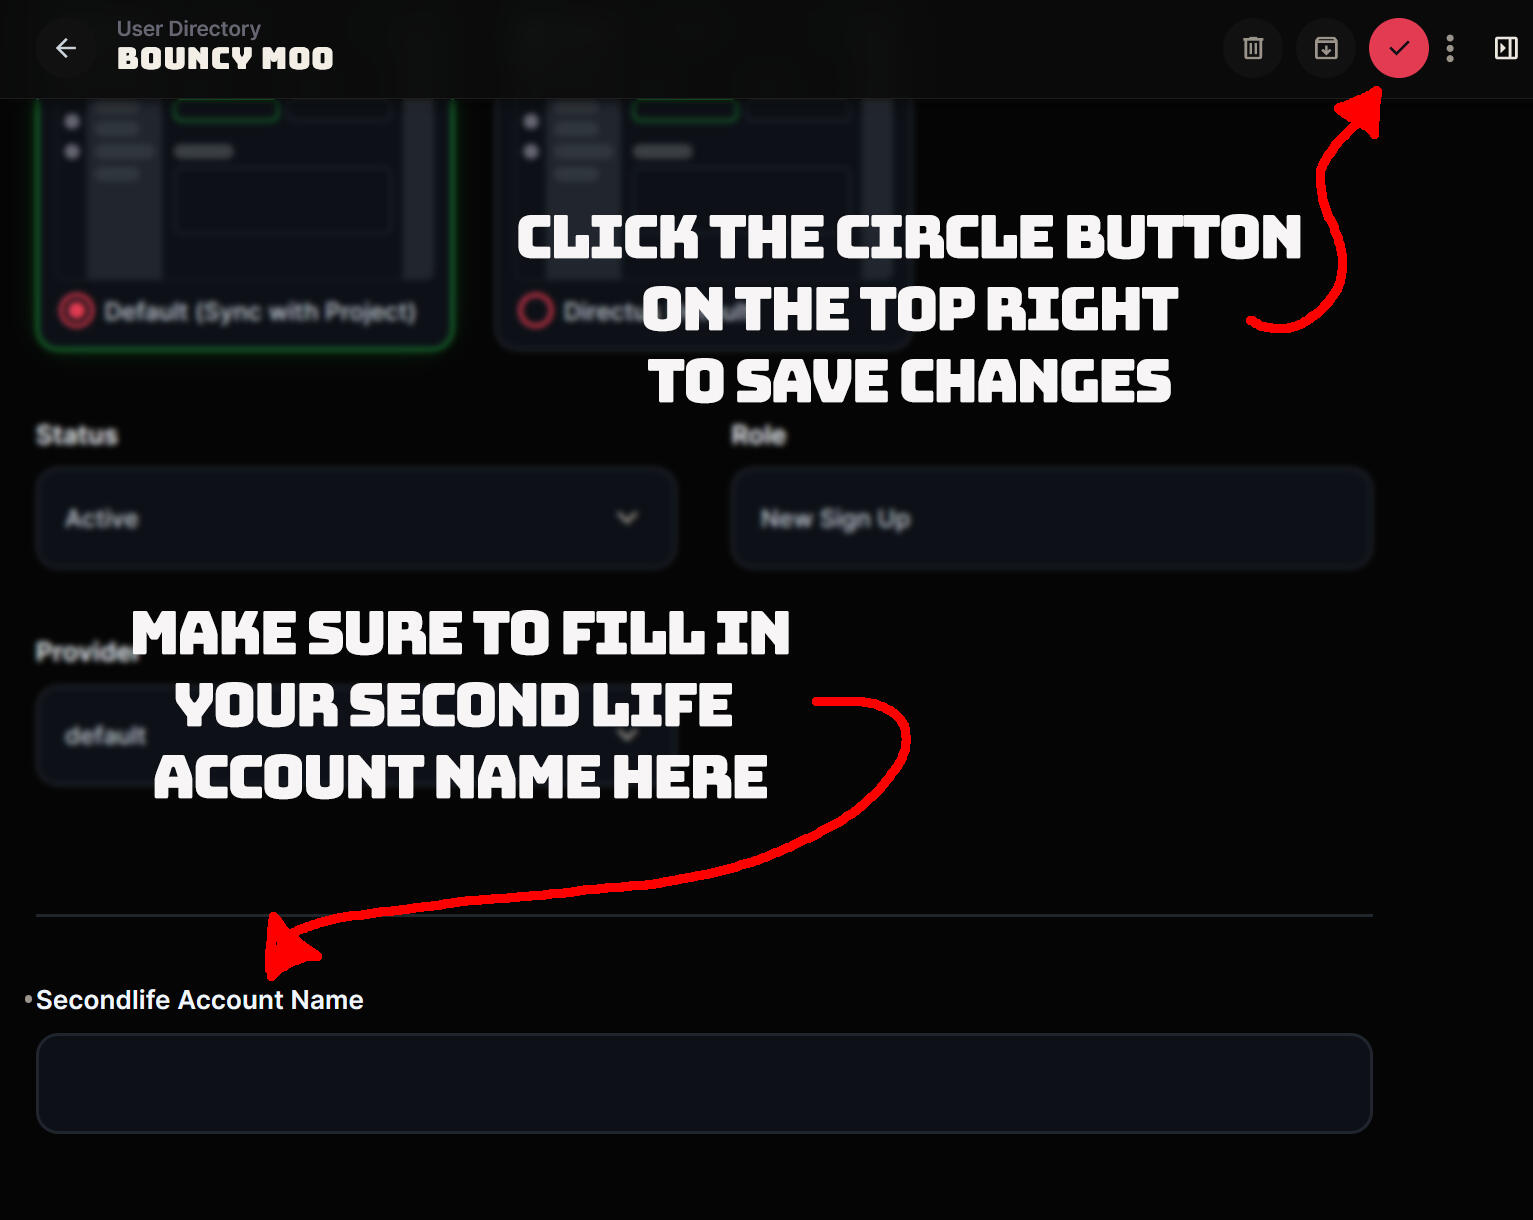
Step 8Enter your Second Life Account Name in the appropriate field before you save your changes. This is different from the First Name and Last Name fields from the previous step.This should not be your display name. If your account name is Zeph Amore, enter "Zeph Amore" here. If it's a single name like Jon, enter "Jon Resident".When complete, click the Save button (shown as a check mark in a red circle) at the top right, to save your account details.
That's all for MBP Portal account setup. Once you've set up your account, the MBP team will be automatically notified and we will set you up with the right permissions depending on if you're a store owner, artist, or blogger.Once we've set up your permissions, we will notify you that you're all set to start posting!
Setting Up Your Creator / Store Owner Details
Once your account is set up, the MBP Team will vet your account based on our policies. If you're already a community member, onboarding is usually faster.
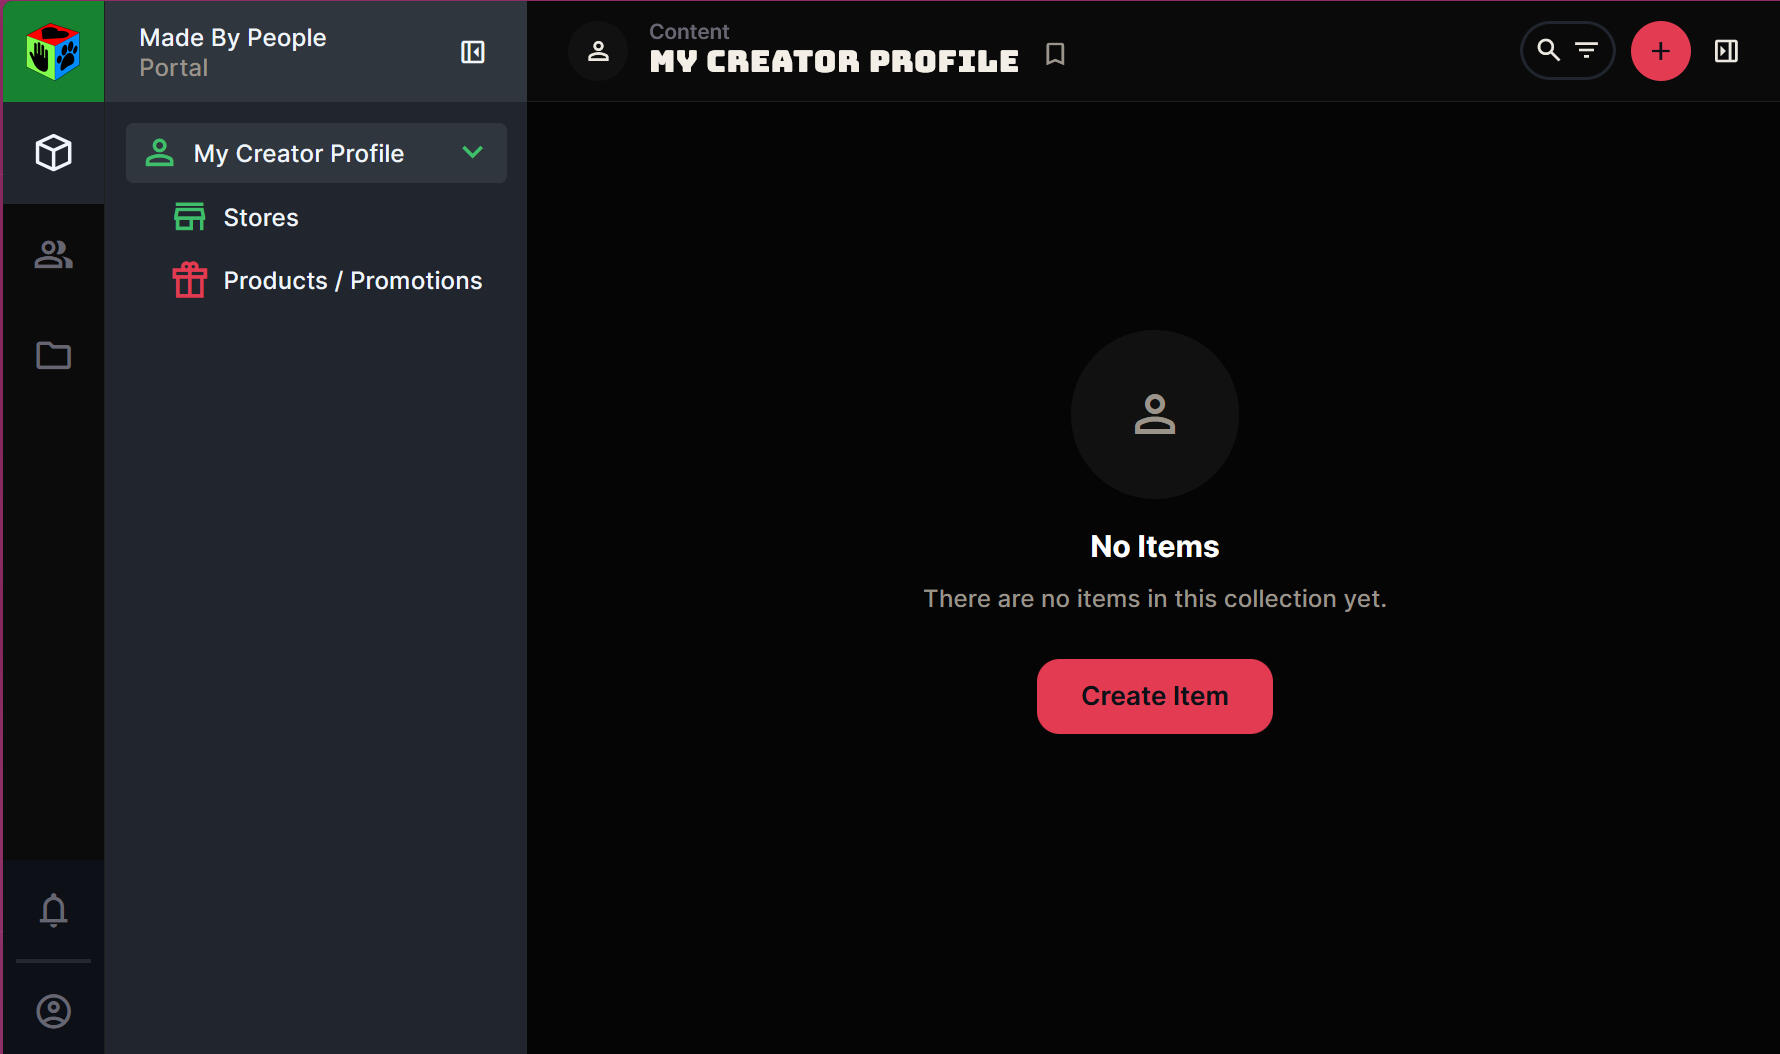
Step 1Once approved, you will see your Creator Profile section with 2 new menu items: Stores and Products / Promotions.The next step is to set up your Creator Profile. Click My Creator Profile and then click the Create Item button to begin.
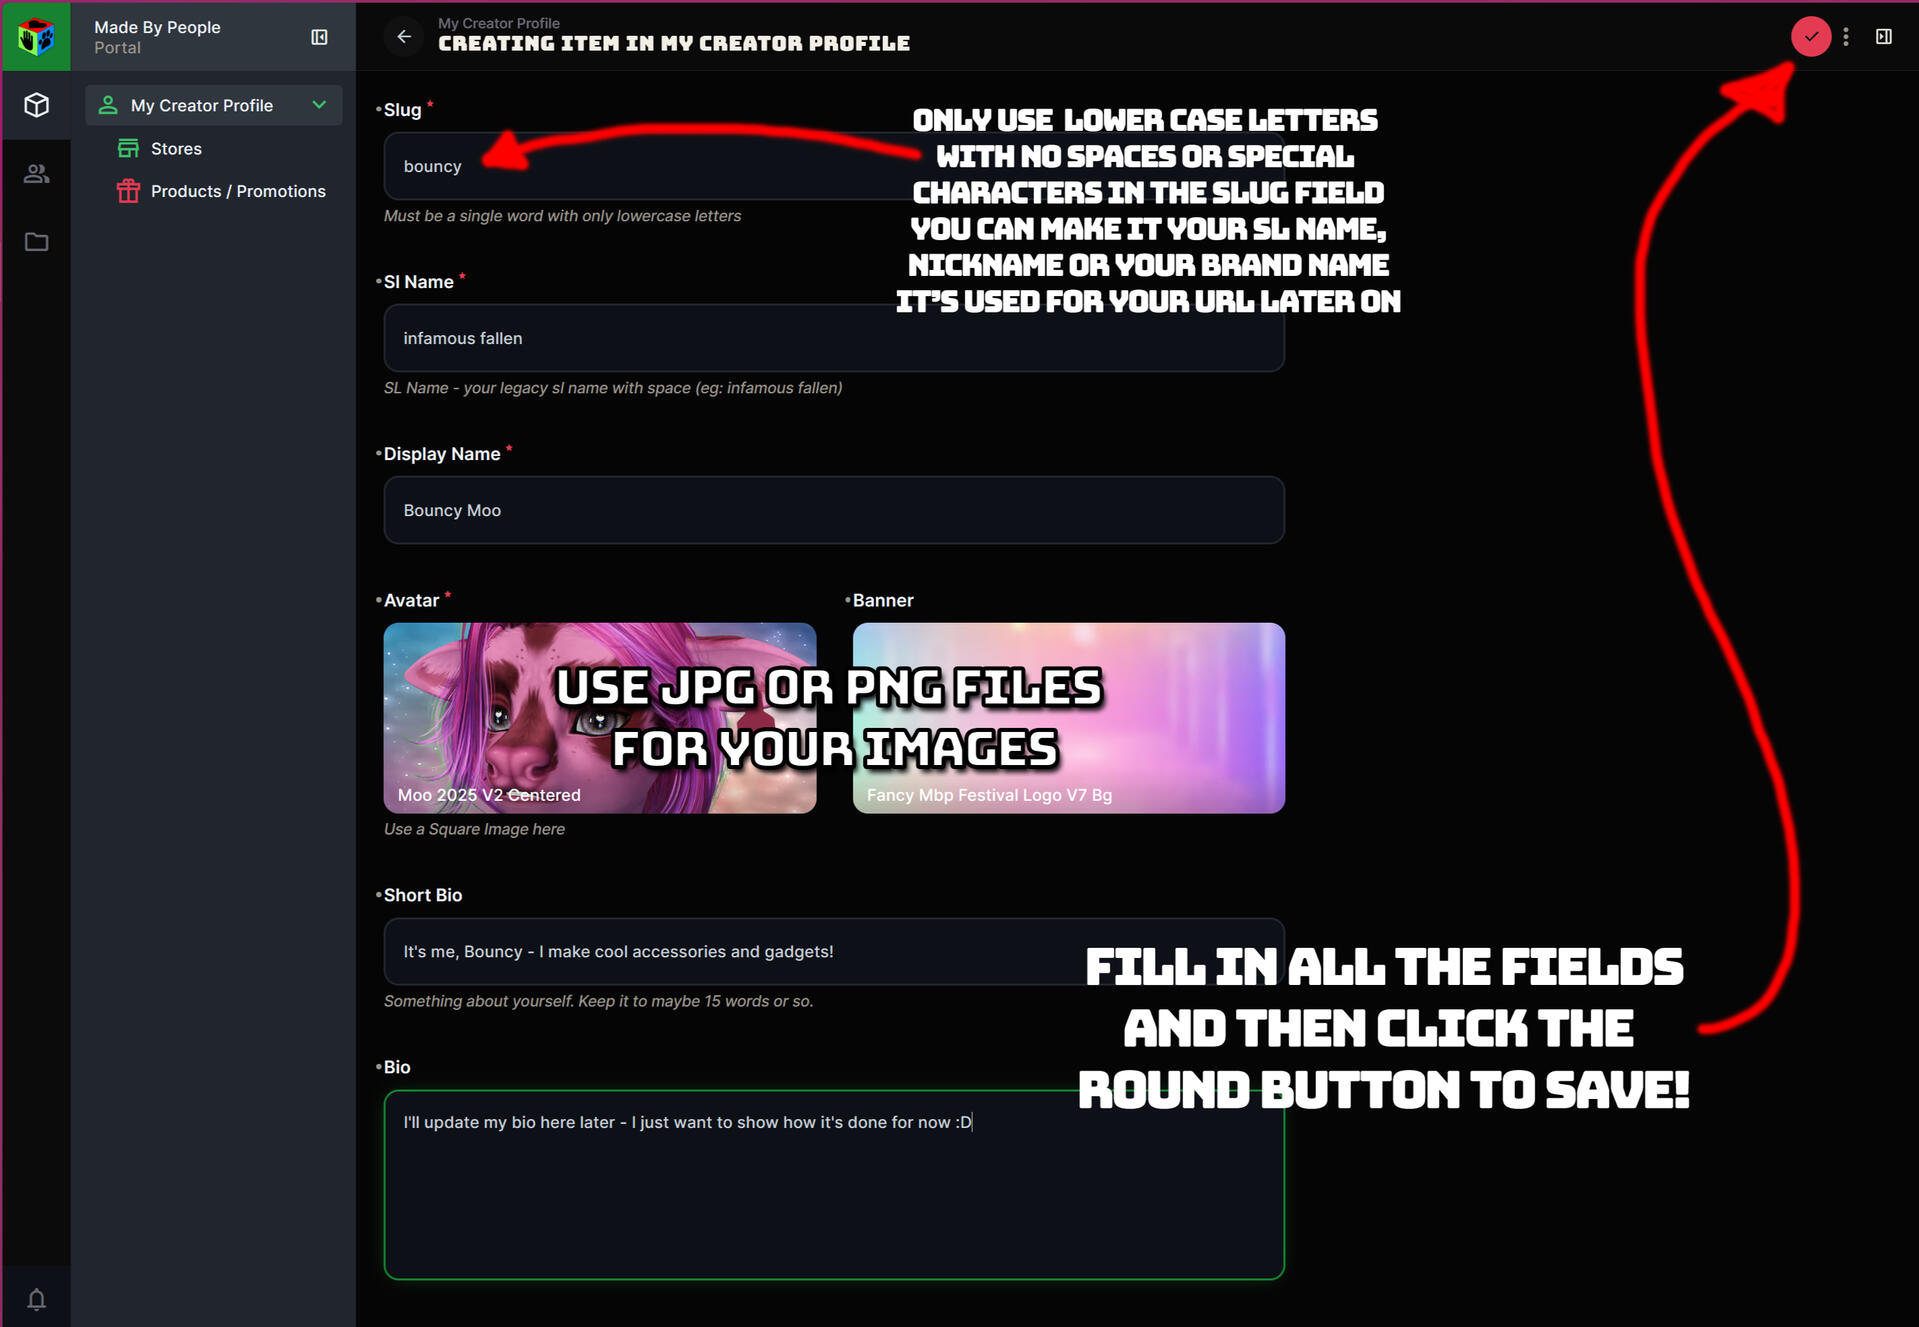
Step 2Fill in your creator / store owner details here.The Slug should be all lowercase with no spaces or special characters. Dashes ( - ) are accepted.When complete, click the Save button (shown as a check mark in a red circle) at the top right, to save your details.
All Done. You can proceed with the next step to set up your Store details.
Setting Up Your Store Details
Once you've entered your Store Owner details, the next step is to enter your Store details.
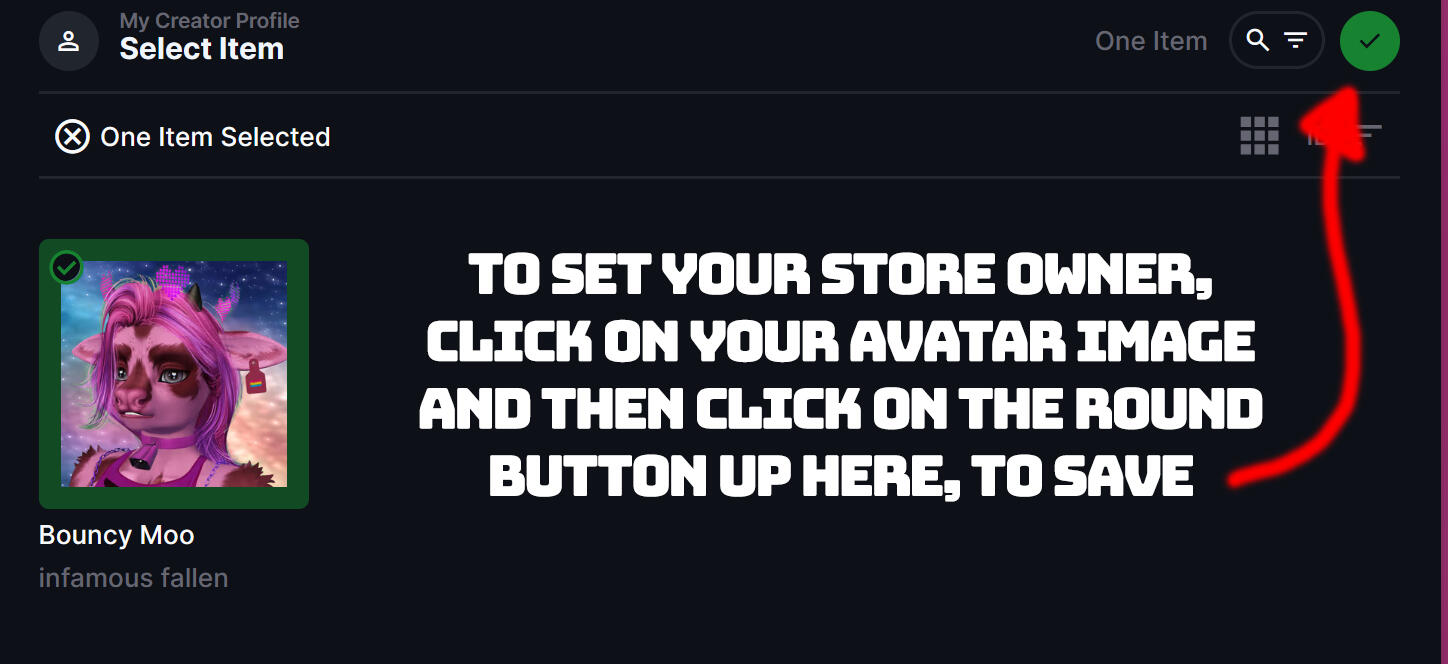
Step 1Set your Store's owner by clicking the Add Existing button under the Store Owner field.You will see your previously created Store Owner on the right. Click it's avatar image to select it.After selecting your Store Owner, click the Save button (shown as a check mark in a green circle) at the top right to save your selection.
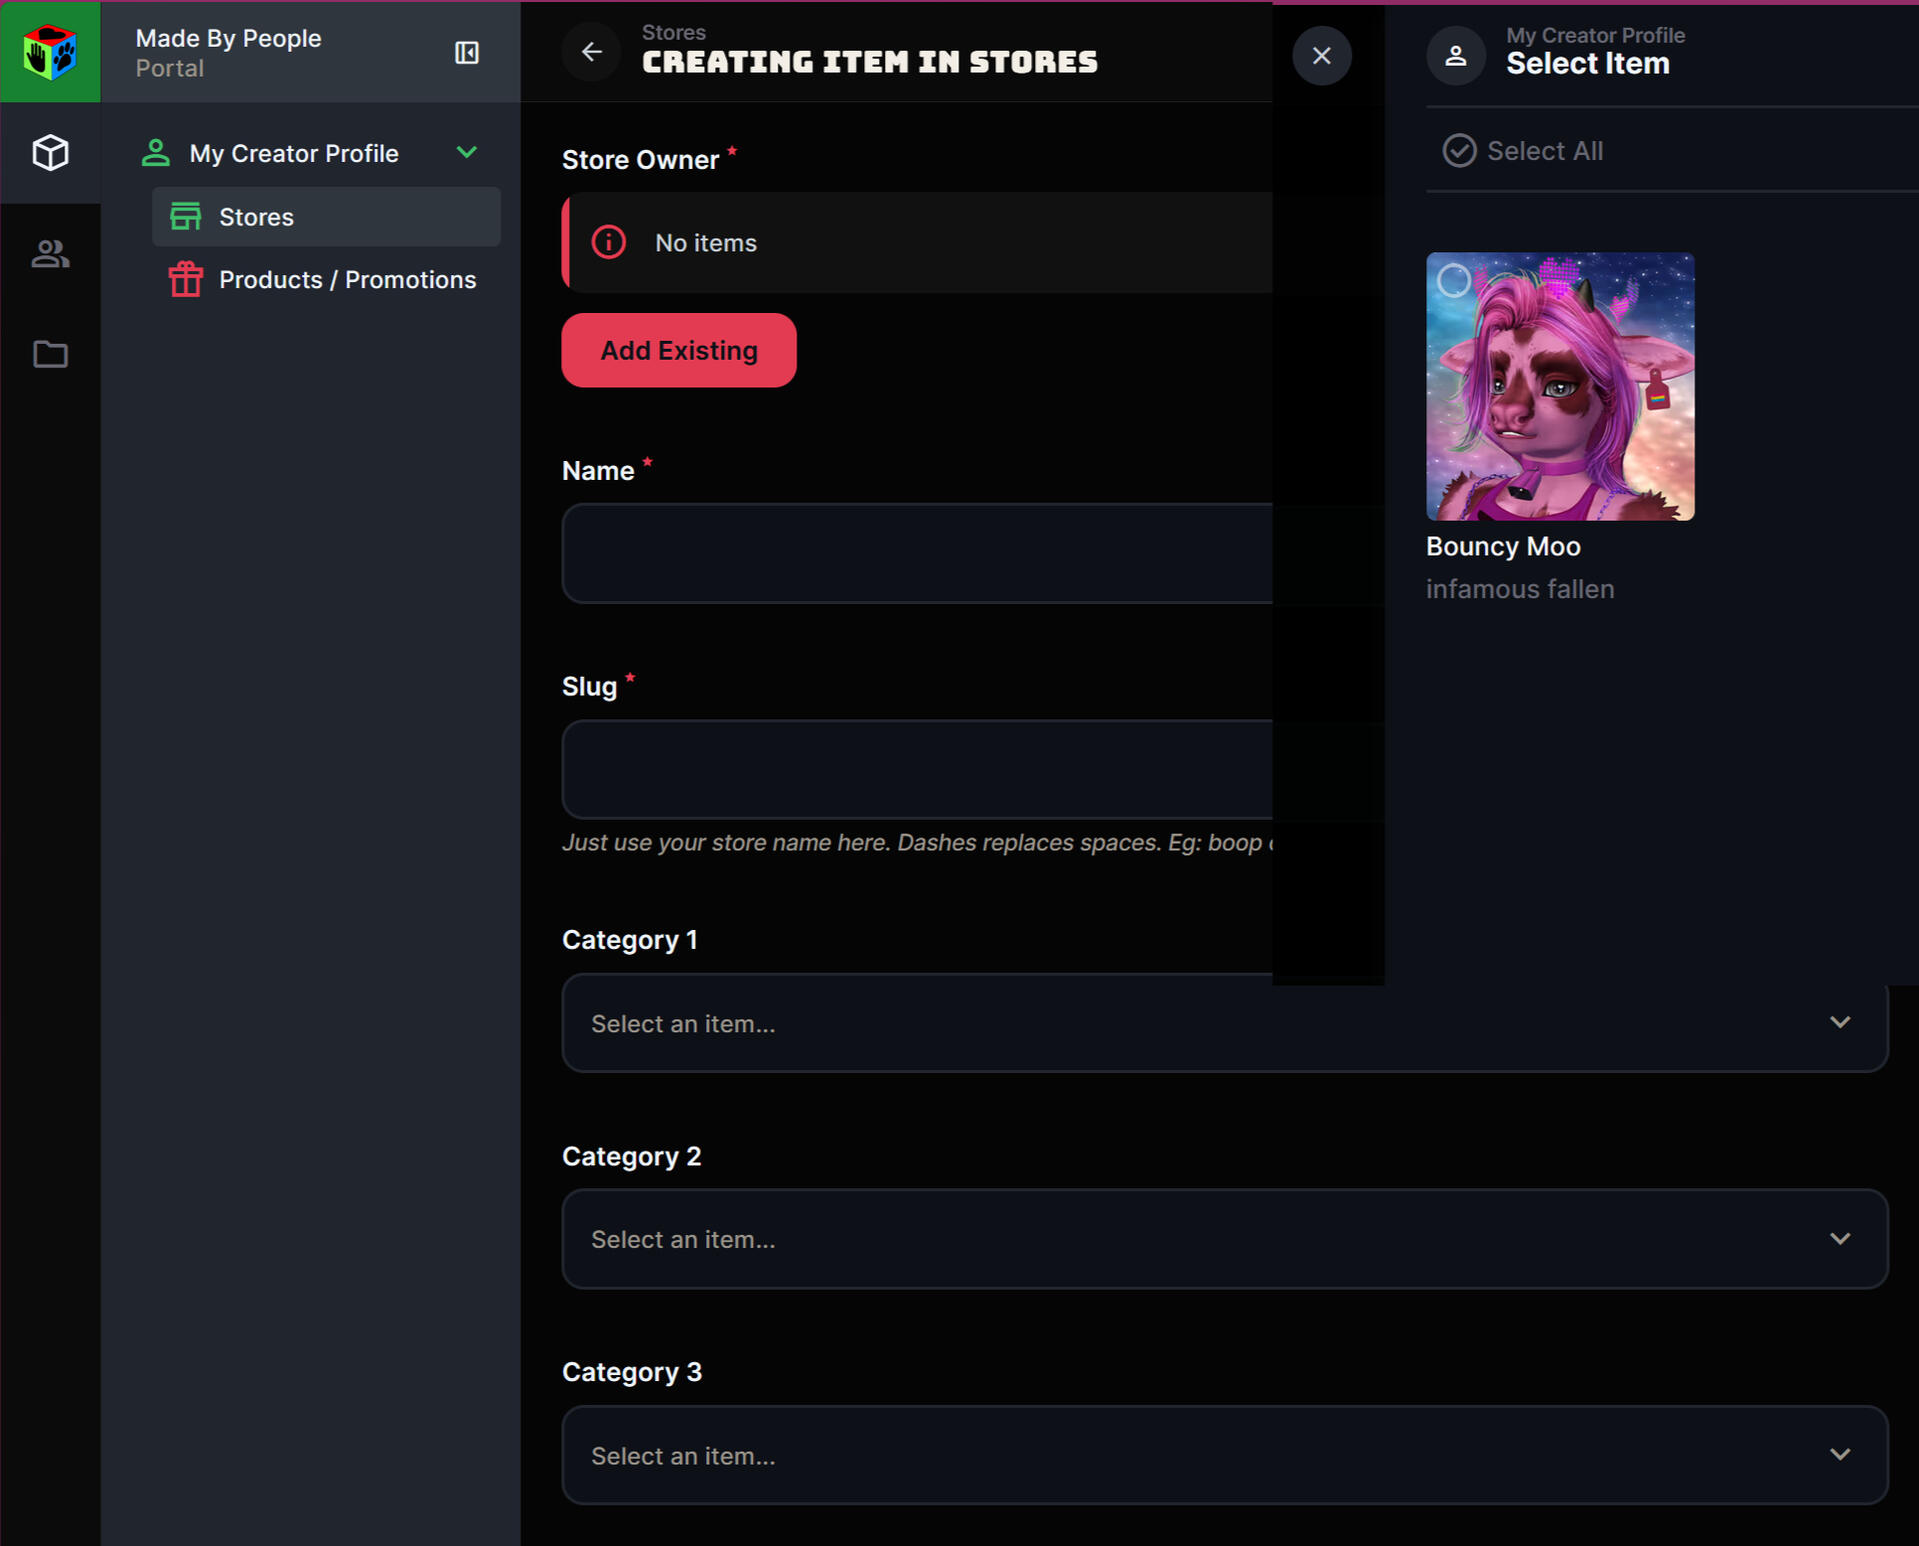
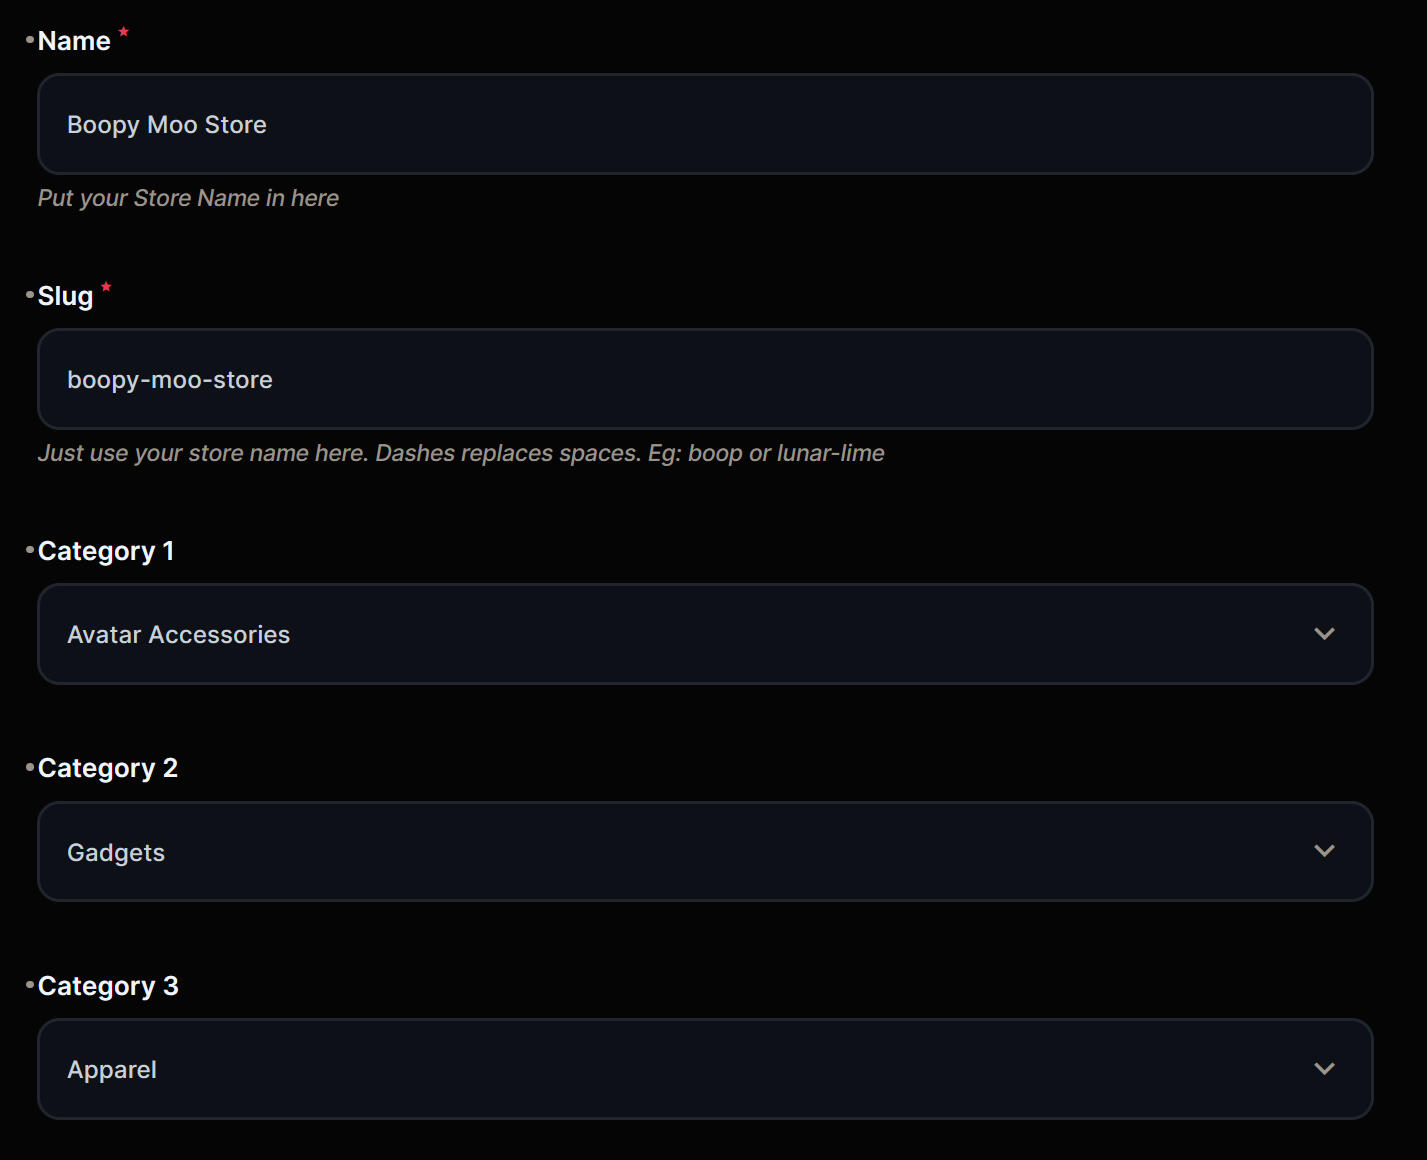
Step 2Next, enter your Store's Name and Slug. The Slug should be a lowercase version of your store name with no spaces or special characters. Dashes ( - ) are accepted.Optionally, you can set up to 3 categories for your store.
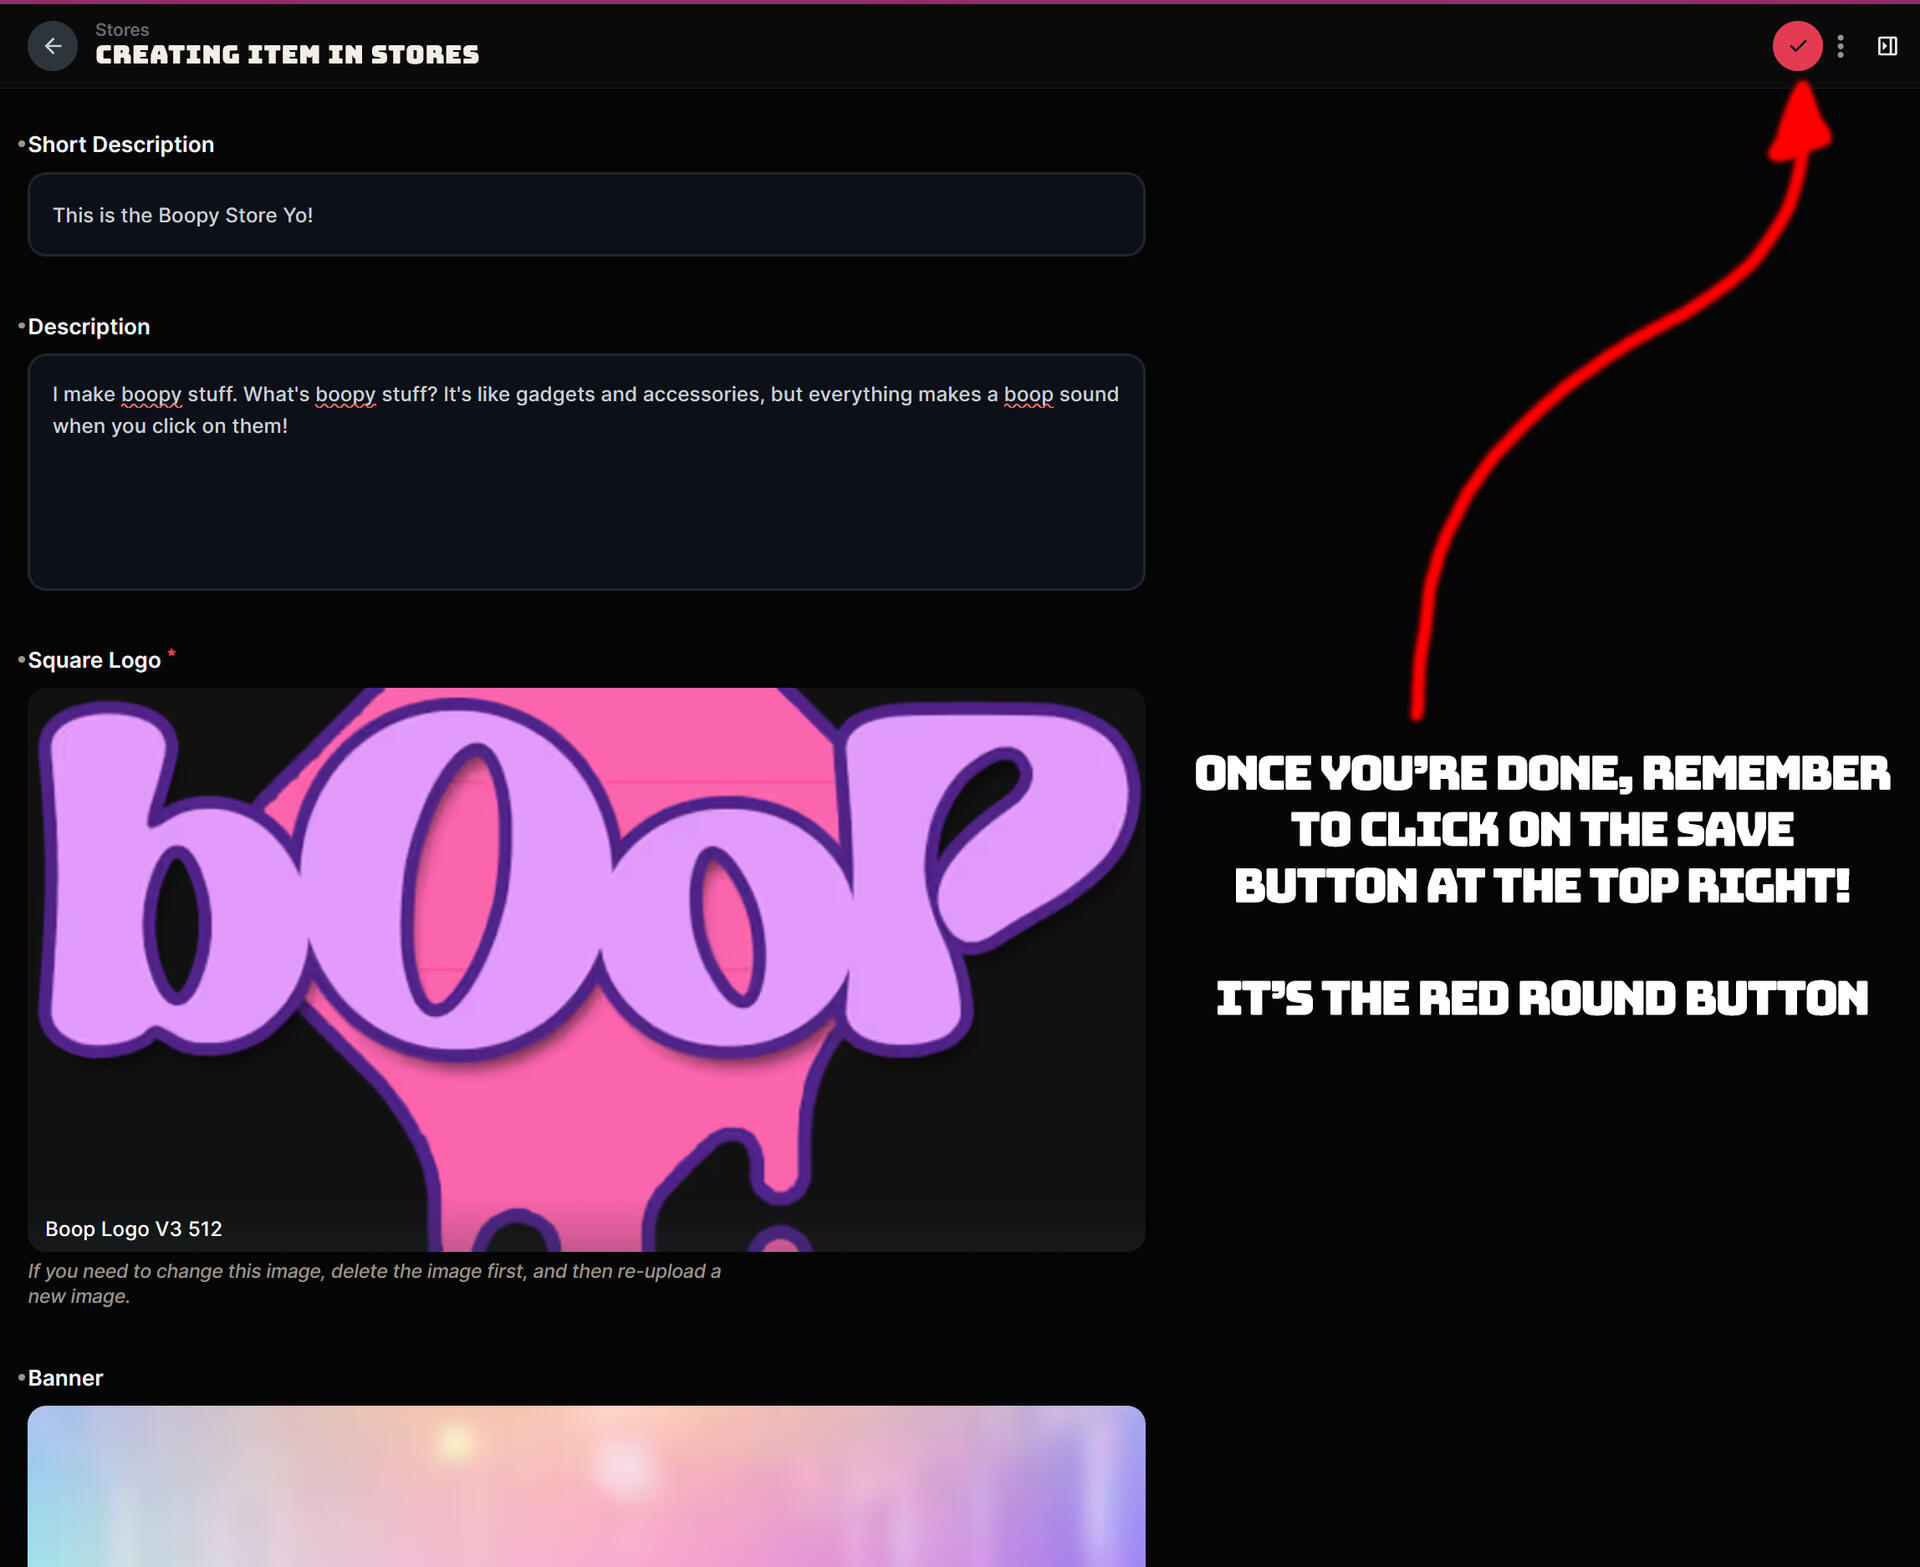
Step 3Next, complete your Store's Description fields and upload your logo and an optional banner. A banner would make your store page look really good!When complete, click the Save button (shown as a check mark in a red circle) at the top right, to save your details.
All Done. Your setup is complete!You're now ready to publish your new releases!